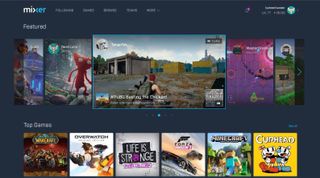
Updates to Windows 10, including the Creators Update and April 2018 Update, have added and refined the Windows 10 Game Bar, which provides quick access to streaming options over Mixer. Instead of having to use third-party software it's all baked right in, and all you have to do to start streaming is log into a few apps, launch a game, and click to start the broadcast.
To help you get started on the path of becoming a gaming superstar, here's how to stream on Mixer in Windows 10.
- How to set up a Mixer stream for the first time
- How to change Mixer overlay settings
- How to change Windows broadcast settings
- How to customize your Mixer channel
How to set up a Mixer stream for the first time
First, you need to ensure your privacy settings allow you to broadcast from your PC. By default, broadcasting should be allowed, but here's how to check.
- Navigate to the Xbox user settings page. If you aren't already logged in, it will kick you back to a login page before you can proceed.
- Type your username.

- Click Next.
- Type your password.
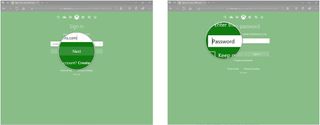
- Click Sign in.
- Click the Xbox One/Windows 10 Online Safety tab.
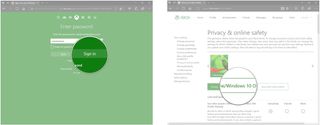
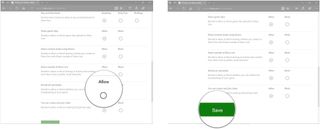
- Click the Allow button in the Broadcast gameplay section. You might have to scroll down a bit to find it.
- Click Save.
Now that your privacy settings will allow you to broadcast, you can start getting things set up.
- Launch the Xbox app from your Start menu, desktop, or taskbar.
- Click Let's play to sign in with the account you want to use to stream. You can also switch accounts or add an account if yours is not displayed.
- Launch a game or app you want to broadcast.

- Hit the Windows key + G shortcut on your keyboard to bring up the game bar. If you're using a gamepad, you can also hit the Xbox button.
- Click the Start broadcasting button. A Mixer overlay will open containing a bunch of settings for your impending broadcast.
- Click Start broadcast to go live.
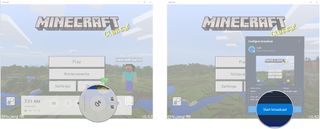
This is the quickest way to start streaming to Mixer. Before you begin, though, there are a number of settings you can tweak to get it just right.
How to change Mixer overlay settings
The Mixer broadcast setup overlay gives gamers the ability to quickly tweak their stream before going live.
- Click the dropdown arrow in the Stream window section.
- Click Game.
- Click the dropdown arrow in the Webcam section.
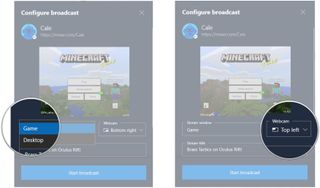
- Click a position for your webcam. If you don't have a camera connected, nothing will appear.
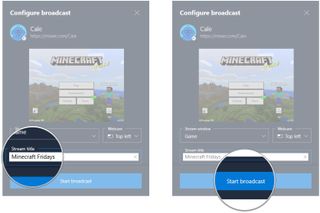
- Click the Stream title field.
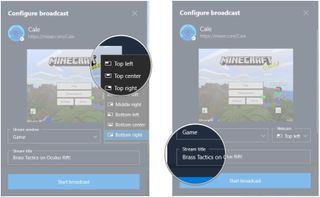
- Type a name for your stream.
- Click Start broadcast. You should now see a small windows appear that has streaming options.
- Click the Pause button to temporarily pause the stream.
- Click the Stop button to completely stop the stream.
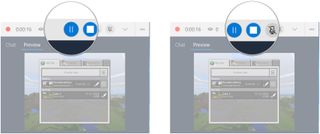
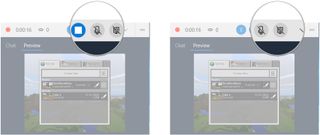
- Click the Microphone button to toggle your microphone on and off.
- Click the Camera button to toggle your webcam on and off.
How to change Windows broadcast settings
Windows broadcast settings can be reached one of two ways; you can find it in the standard Windows Settings menu, or you can reach it through the Game Bar overlay by clicking More in Windows settings. Here we will demonstrate the former method.
Get the Windows Central Newsletter
All the latest news, reviews, and guides for Windows and Xbox diehards.
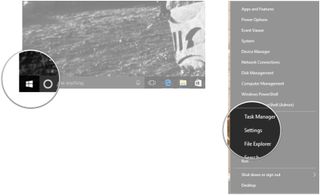
- Right-click the Start menu.
- Click Settings.
- Click Gaming.
- Click Broadcasting.
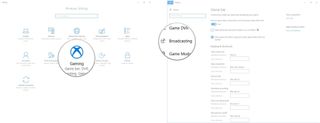
Here you'll find a bunch of additional performance settings to help make your stream the best it can be.
Click the switch below Record audio when I broadcast so that it turns on to ensure your viewers can hear the game's audio.
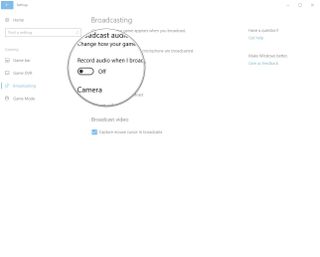
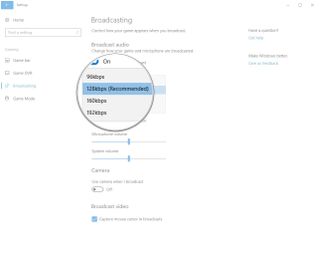
Click the dropdown arrow below Record audio when I broadcast and click an audio quality. The recommended option should be good enough, but options are there for lesser or higher quality.
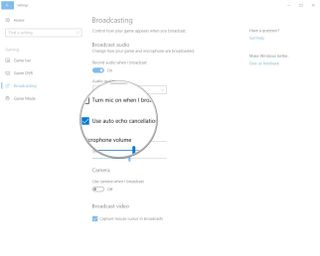
Your microphone and camera can be toggled on and off while you're streaming, but you probably want to leave auto echo cancellation enabled. This cuts down on any looping audio that will make viewers turn off the broadcast in a hurry.
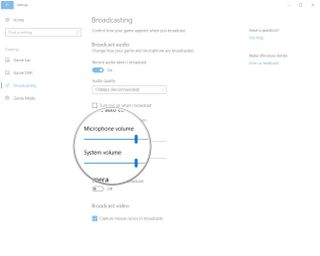
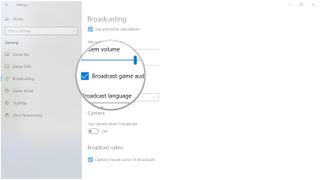
Click and drag the sliders to adjust the game volume and your microphone volume.
Click to enable or disable the Broadcast game audio only. If enabled, your audience will only hear what you hear within the game.
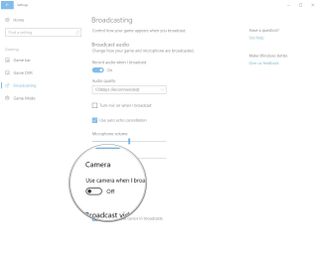
Click the switch below Use camera when I broadcast so that it turns On if you want to include yourself in the stream.
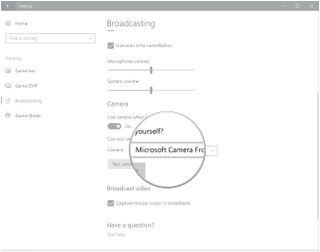
Click the dropdown arrow next to Camera and click a camera if you have more than one option.
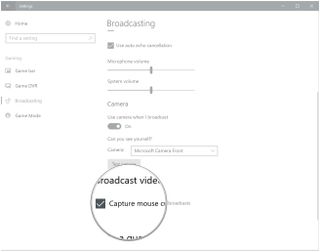
Click the checkbox next to Capture mouse cursor in broadcasts to toggle whether or not your mouse shows up in the stream.
How to customize your Mixer channel
In order to actually customize your Mixer channel — things like title, tag, audience restrictions, etc. — you have to visit your channel in a web browser. There's a quick link in the Game Bar that will take you straight there.
- Hit the Windows Key + G shortcut on your keyboard.
- Click the Mixer button in the bottom-left corner of the Game Bar. This will open a new page in your default browser.
- Click Sign In.
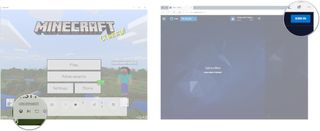
- Click Sign in with Microsoft.
- Type your email address and hit Enter on your keyboard.

- Type your password and hit Enter on your keyboard.
- Click the avatar in the top-right corner of the window.

- Click Manage Channel.
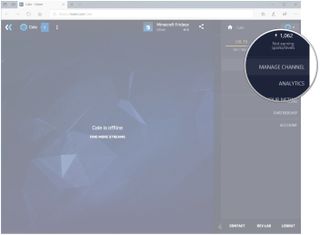
From here you can tweak your channel to your heart's content.
More resources
- How to stream Oculus Rift on Twitch and Mixer
- A beginner's guide to Mixer streaming
- Mixer how-to: Set up interactive sounds and GIF buttons for your streams
Updated May 25, 2018: I've refreshed this guide with some new screenshots and steps to be sure it reflects recent changes to Windows 10 and its Game Bar.

Cale Hunt brings to Windows Central more than eight years of experience writing about laptops, PCs, accessories, games, and beyond.
