Installing a new, more powerful graphics card can make a world of difference when it comes to gaming on a PC. And because you're not entirely rebuilding a PC, this isn't a terribly complicated task. However, it can still appear to be somewhat daunting for anyone who hasn't opened the side of a PC case before. Luckily, with a little help, the right tools, and a spare 10 minutes, you can be back in-game in no time. If you're interested in upgrading your GPU but don't have new hardware in mind, be sure to have a look at our best graphics card picks available now.
It is important to note as well that many of the more powerful modern graphics cards like the NVIDIA RTX 3090, RTX 4080, and RTX 4090 are huge and will require bigger cases and possibly vertical mounting kits to fit inside of your case.
Products used in this guide
- Tackling all those screws: Rosewill 45-piece at Newegg
- Optional vertical mount: Cooler Master MasterAccessory at Amazon
How to install your new GPU
The main parts of this task involve the case and PCIe slot on the motherboard. Most GPUs sold today are connected to the PC via this PCIe slot. A motherboard can have more than one slot, but we'll want to use the first (x16) slot, which usually has the most bandwidth available. A x4 slot is shorter and can be used for other expansion cards (Wi-Fi cards, for example), and secondary x16 slots are usually reserved for additional GPUs or expansion cards.
If you need to buy a GPU
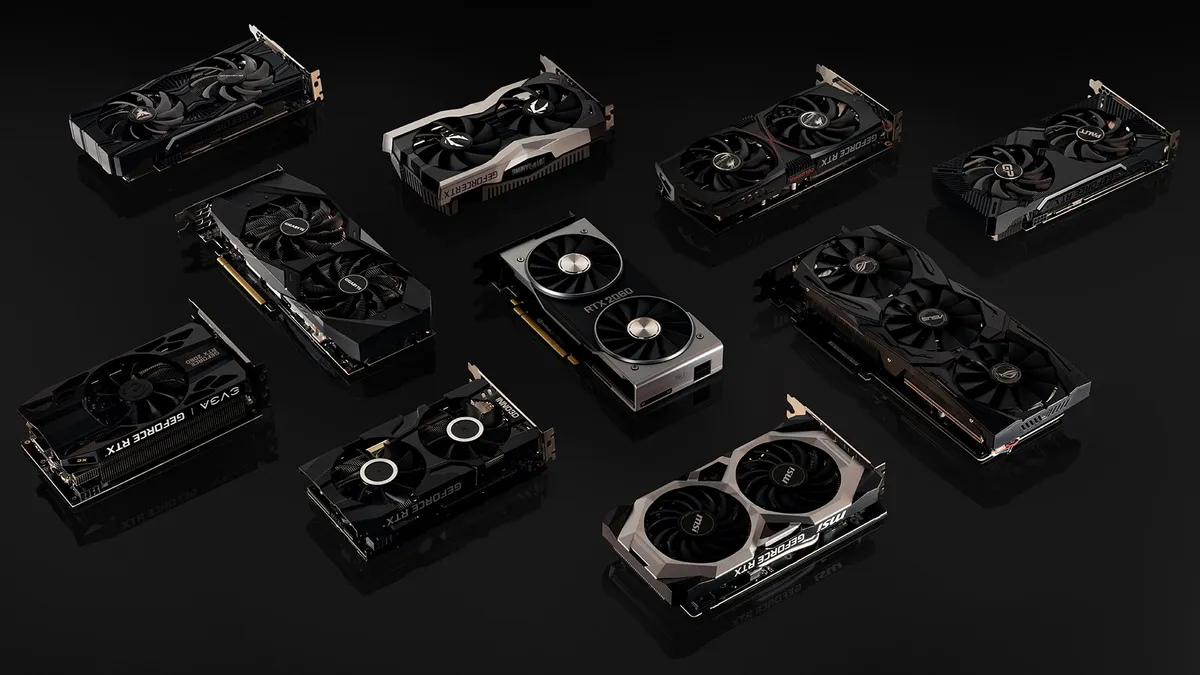
Should you be researching just how easy it is to install a GPU yourself and need to buy one, we've got you covered with a breakdown of the best graphics cards to play PC games at various resolutions, depending on what you have your monitor and games set to. You'll be able to buy, install, and enjoy a powerful new graphics card.
Preparing your PC for the new GPU
You need to make sure that your PC case will fit your new GPU. If you want to know for sure your PC case will fit whatever you can throw at it, you can also pick up one of the biggest cases in the world, like the HYTE Y70 Touch. However, if you have a normal-sized case or want to try to fit a large GPU in mid-tower or smaller, you might need to mount your GPU vertically. There are a lot of factors that go into how to mount your GPU, but we have a guide to help you know if a vertical-mounted GPU is right for you. Also, if you're going to go with a vertical-mounted GPU, make sure to check out the best cases for vertical mounts.
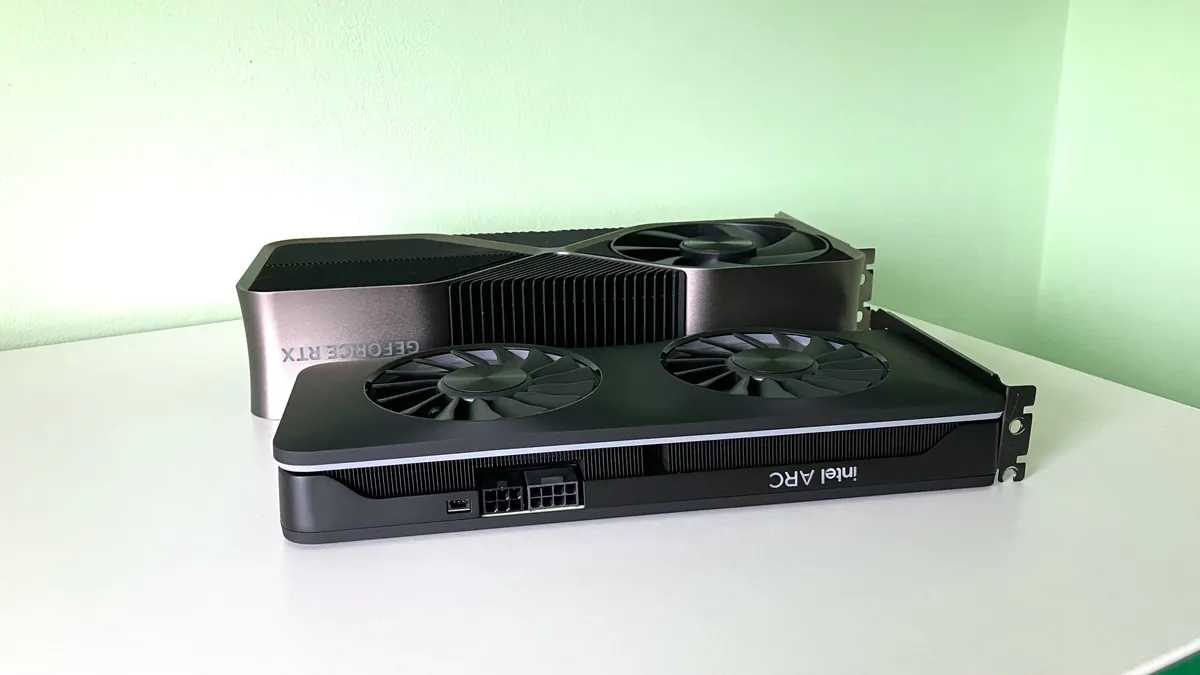
Comparing the RTX 4090 Founders Edition to an Intel Arc A770, both are lengthy GPUs, but it's obvious to see just how much thicker the 4090 is. Also, it's important to note that the RTX 4090 Founders Edition from NVIDIA is one of the smaller 4090s on the market. For many cases, and to prevent the GPU from sagging, the bigger 3090, 4080, 4090, and their perspective TI versions benefit from vertical mounting.
Before you install the new card, you need to make sure older drivers for the card you're replacing are uninstalled. If you're installing a new GPU and do not already own a dedicated card, you can skip this section.
There is also a handy tool that can aid in completely removing GPU drivers on Windows, called Display Driver Uninstaller. Using this utility isn't required but can prove useful in getting rid of all instances of drivers from Windows. After the drivers have been removed, it's time to open up the PC and get started.
It's also worth checking your power supply (PSU) to make sure it can handle a dedicated GPU (if you don't already have one installed) or a more powerful upgrade. You'll generally want a 500W certified PSU from a reputable brand, though a 600W+ model would better suit overclocked configurations.
Installing the new graphics card
- Power down the PC.

- Hit the switch on the back of the PC to turn off supply to the PSU.
- Extract the side panel (usually held on by two screws on the rear).
- If you do not already have a GPU installed, skip to Step 7.
- Remove the screws holding the GPU in on the rear bracket.

- Unlock the PCI-e slot clip.
- Remove the GPU by lightly pulling on the card.
- Hover the new GPU over PCI-e slot.

- Push down on the GPU to slide the connector into the slot.
- Ensure the secure lock clicks into place.
- Screw the rear bracket down to secure the card to the chassis.
- Connect any required PSU cables.

- Reattach the side panel.
Now, all you need to do is plug in the display connectors on the rear of the case, whether they're DisplayPort, HDMI, DVI, or VGA. After that, hit the PSU power switch and boot up Windows. If the PC does not turn on or no signals get sent to the monitor, we'll need to double-check that all cables are connected correctly (both inside and on the rear of the PC), and that the GPU is seated properly in the PCIe slot.
Installing required drivers
Before the GPU can be used for intensive workloads like gaming, you need to get new drivers installed so Windows and software can effectively communicate with the card. Hit the links below to download and install drivers for a new NVIDIA or AMD card.
What you'll need to get the job done
To remove and/or install a GPU, you'll need a Philips screwdriver. It's worth investing in a toolkit that contains numerous tools you'll make use of when tinkering with your PC.
The Rosewill toolkit is perfect for those who only require essential screwdriver tips and spudgers. There isn't a flashlight, nor is there a wire cutter, but for absolute PC building essentials, you'll be able to do pretty much everything with this kit. It's also reasonably affordable, considering you will have not only tips for all manner of PC components and case screws but also more fiddly ones on laptops and smartphones.

Budget-friendly but has everything you need
This 56-piece tool kit set is an Amazon's Choice with 4.5 stars out of 5. It has an ESD wrist strap and everything else you need to install a GPU into your PC or other electronic tinkering around the house. If you don't need all 56 pieces there are other smaller kits available as well.

Let's get vertical
Compatible with most ATX cases and adjustable to fit your GPU position, this V2 kit includes a PCIe 3.0 riser cable. Its high-quality construction is ready to safely support your graphics card and display it vertically.