The motherboard is the heart of not only a PC but all devices with computing power. Even your smartphone has such a mainboard that handles a number of tasks and connects all other components together. It's an extremely important piece of kit. In this guide, we'll be looking at how to install a motherboard in your PC.
Should you have a new build to put together, or need to replace an already installed motherboard, we got you covered.
The motherboard

Things you'll need:
- Philips screwdriver.
- Standoff install tool.
- Anti-static wristband (optional).
- Motherboard manual (for pins and other references).
Removing a motherboard
Extracting a motherboard already installed inside a PC case is fairly straightforward. (Make sure you have the case laid down on its side.) Here's how:
- Remove the rear screws on the case for the GPU.
- Detach the holding clip on the PCIe slot. (Usually located to the right-hand side of the port.)

- Remove the GPU from the motherboard.
- Unplug all cables from the motherboard.
- Remove all screws.
- Extract the motherboard.
Installing a motherboard
To install a motherboard, we have to reverse the process of removing one, but it can and will take longer. We'll not cover installing the CPU or cooler here since you should do that before installing the motherboard. It's worth noting that the placement of standoffs will be determined by the size of the board itself.
- Hover the board atop of the back panel to check where you need to install standoffs. (Some PCs may come with them pre-installed.)
- If required, use a standoff tool to tighten the standoffs onto the plate.
- Install the rear I/O shield on the rear of the case. Push on all four corners hard to lock it in place.
- Place the motherboard down atop the standoffs.

- Screw the motherboard down (but do not overtighten!)
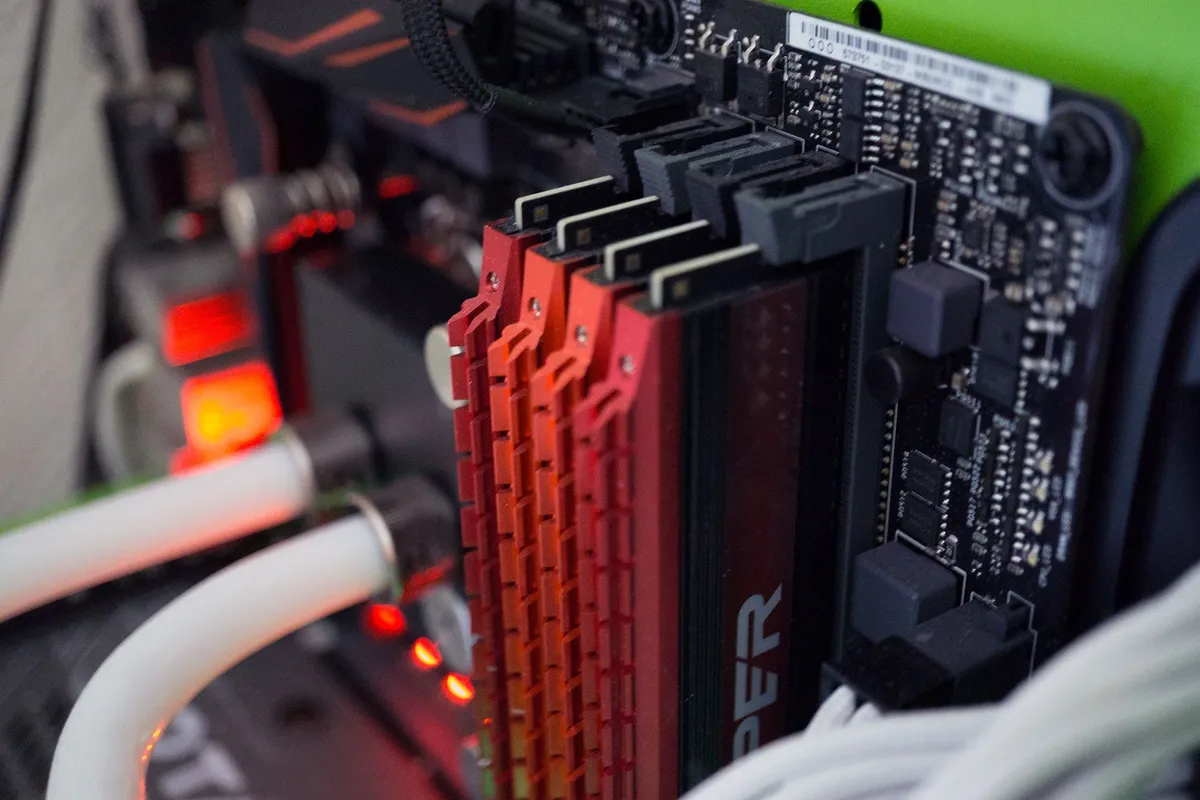
- Install the RAM modules (if not done so already).

- Connect the main ATX power cable, as well as CPU power leads (check motherboard and PSU manual for more details).

- Now the fun part. Hook up the front I/O switches and LEDs. These include power and reset switches, power and HDD LEDs, and speaker.
- Hook up fans to the motherboard pins.
- Install audio, USB and all other case cables to the motherboard.
- If using one, hook up a SATA HDD or SSD by attaching the cable to the respective port.
- Insert a GPU into the PCIe slot, making sure it clicks securely in place.

- Secure the GPU to the case by screwing the component in the rear.
And you're done! All that's required now is to start the PC to make sure everything works after being installed, finish hooking other devices up, do some cable management and boot into Windows.