How to easily switch from Windows 10 Pro to Windows 10 S
Interested in using Windows 10 S on your already existing Windows 10 Pro machine? There's an easy way to get it. Here's how.
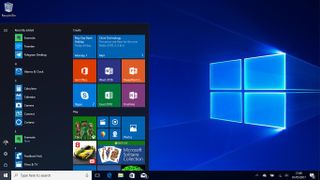

Microsoft has released a tool that makes it incredibly easy to "sidegrade" from a Windows 10 Pro installation to Windows 10 S with just a few clicks, allowing anyone to try out Microsoft's Store-only version of Windows 10. Microsoft recommends doing this on test hardware, for reasons we'll outline below. And to be clear, Windows 10 S is a version of Windows 10 that's locked to the Windows Store for all your apps and games, and you cannot run programs from outside it.
If you want to try out Windows 10 S on your own hardware, there are a few things you need to take note of. Microsoft doesn't recommend you try this on all hardware because some device drivers don't install or run or Windows 10 S. That can cause problems
The sidegrade to Windows 10 S only works from a Windows 10 Pro, Windows 10 Education, Windows 10 Enterprise or Windows 10 Pro Education installations. If you're using Windows 10 Home, this upgrade will not work and you will be left with an unactivated version of Windows 10.
If you're using any of the four variants that work with the Windows 10 S sidegrade, you shouldn't need to worry about activation. Under the hood, Windows 10 S is just Windows 10 Pro with a few additional security tweaks, meaning your device will remain activated through the sidegrade.
The sidegrade will remove your already installed programs that you downloaded from outside the Store, however, so keep that in mind.
Switching from Windows 10 Pro to Windows 10 S
- Head to Microsoft's site and download the Windows 10 S Installer.
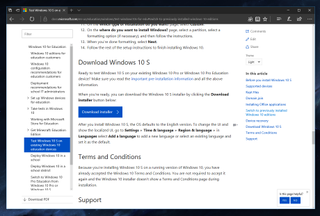
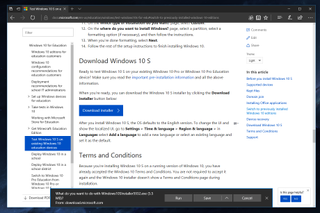
- Select Run when prompted. (This option should be present with most web browsers.)
- In the Installer, select Next.
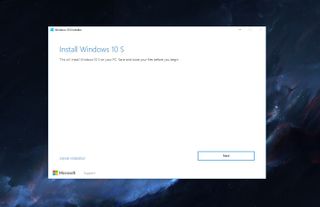
- The Installer will check your PC and make sure it is eligible for the upgrade, and once that's done you should select Next.
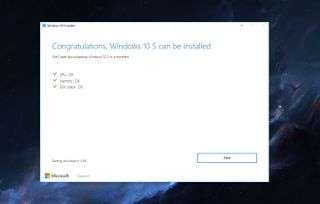
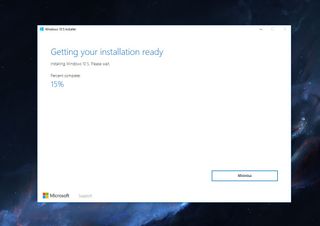
- The Installer will download and begin installing Windows 10 S, you can now go back to using your PC like normal.
- Once the Installer is finished, it will give you an amount of time before it needs to restart. Select Restart now to continue the installation.
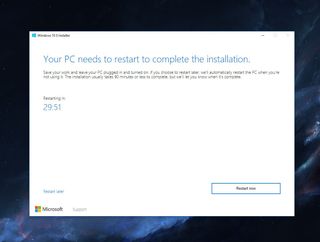
- Your PC will restart and continue installing Windows 10 S.
- Once your PC boots back up, you should be running Windows 10 S!
Depending on your hardware, the time this takes may vary. For most machines, this process shouldn't take more than an hour. Remember, once you're on Windows 10 S, you can sidegrade back to Windows 10 Pro anytime. Here's how to do it.
Get the Windows Central Newsletter
All the latest news, reviews, and guides for Windows and Xbox diehards.

